

Hello everyone and welcome to another Cricut Cartridge Showcase. Today Michelle, from Michelle's Crafty Creations is bringing us a fabulous showcase from the Cricut cartridge WILD CARD. You will love these projects and surely want to visit Michelle's blog to see just how talented she is.


Hey all my crafty peeps out there!! It's Michelle from Michelle's Crafty Creations!
I hope you all enjoyed your weekend! We did! :)
Today I am bringing you just a few projects from Wild Card Cricut cartridge. Can I just start off by saying I was a little intimidated to use this. I had read SO many message boards and comments about how people really didn't like it and their cuts never matched etc. etc. Let me just say......I LOVE this cartridge!! OH. MY. WORD. I have many projects in the making (on my Gypsy of course) ready to roll out. What a fun cart!
For my projects today I designed all of them on my Gypsy. I didn't use EVERY feature, but I tried to bring you a couple of different takes on them.
The first project is the "Tweety card" (sounds cute huh?) IT IS!! I used the card, envelope, liner, and icon.

LOVE this paper!
Here you see the patterned paper used as the card liner and the bird is the icon feature.

The envelope with the envelope liner outlining the "tweety"
(You can use the blackout feature and it won't cut the bird)

Here is the liner with the envelope

Card and envelope
Card measures 5.45x2.67
This next project is a gift box. I HIGHLY recommend using a two sided paper. It makes it more pleasing than just a white interior! There are two gift boxes, I used the 2nd one (press shift). I used the frame and liner feature for this. I also used the "A" from this cart to monogram the frame feature. I designed this on my Gypsy so I could copy the frame and weld the "A" to it.

I used two sided paper (from MS-I think) to form the box. I flipped the "A" on my Gypsy so it would use the opposite side of the paper. LOVE how it came out!!
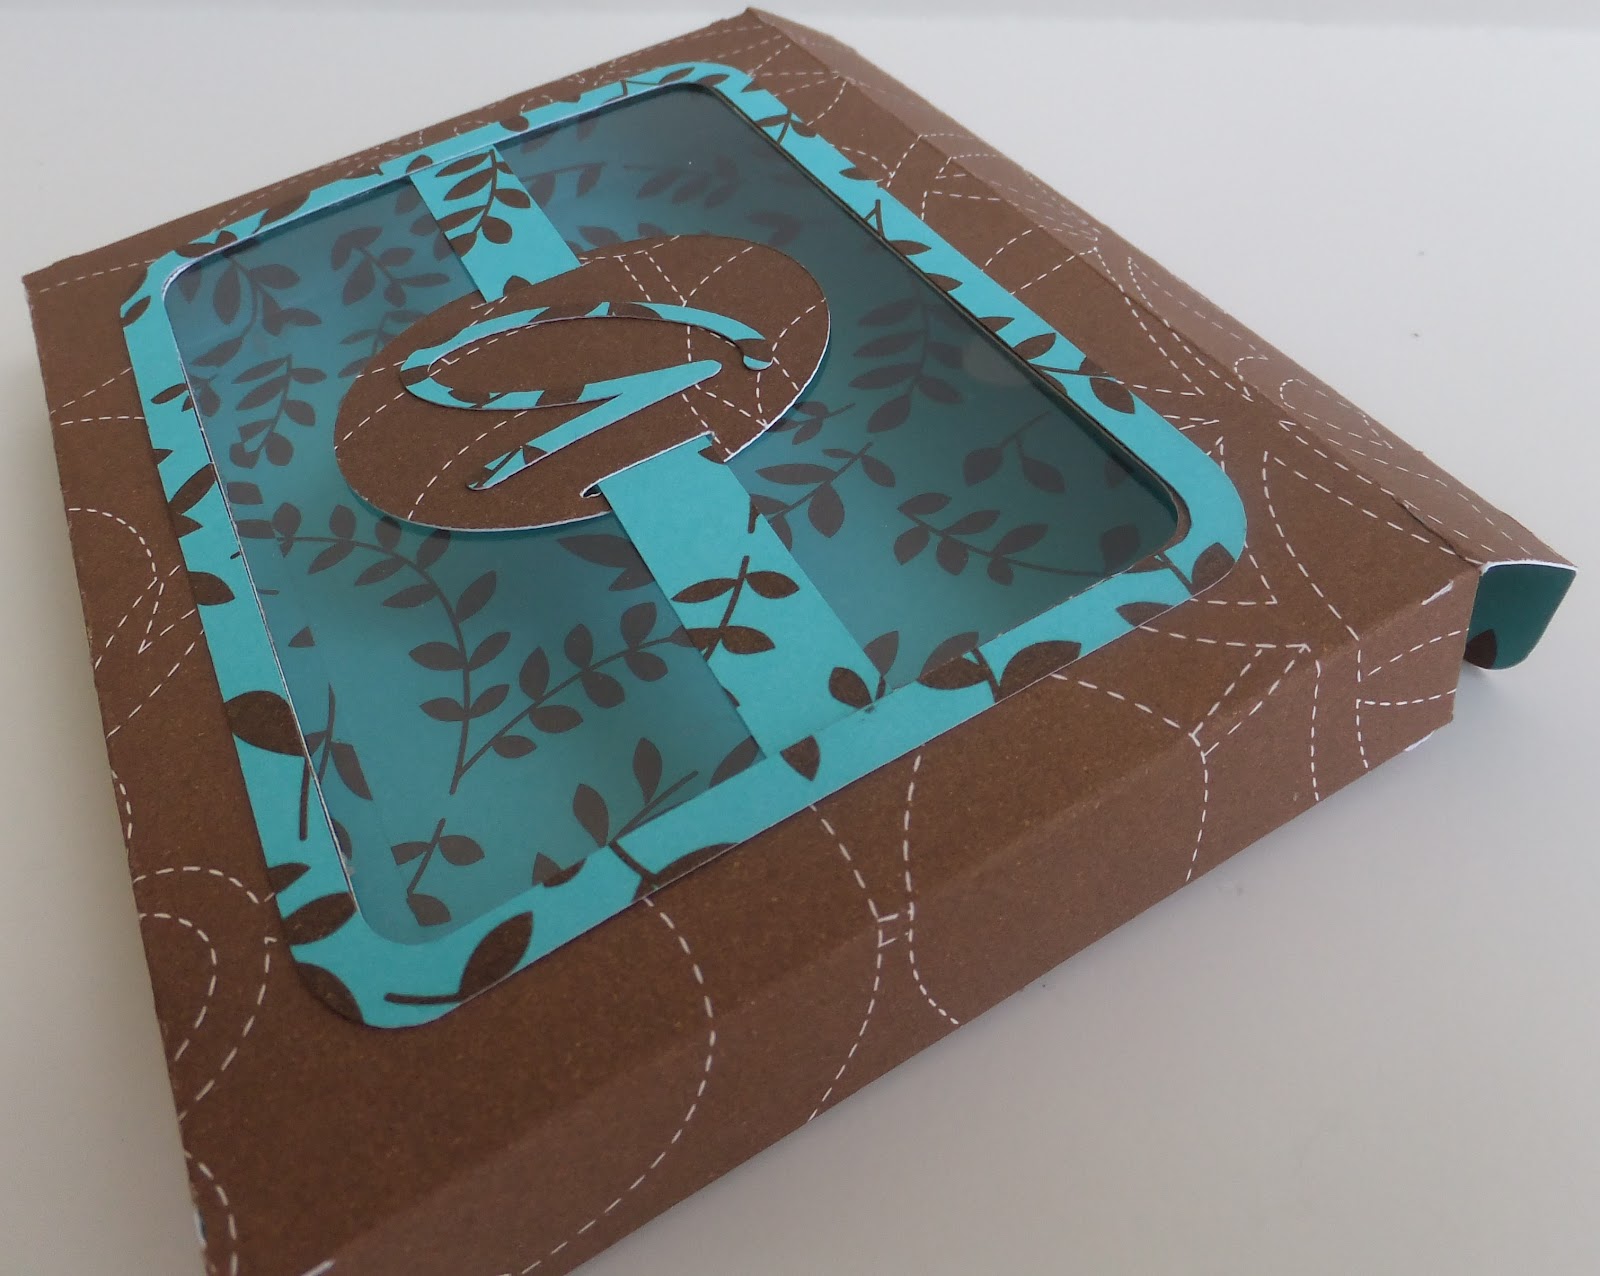
I adhered acetate (ok..who really owns that stuff?? I used plastic from one of my cricut carts and cut some out to fit the frame..LOL) I then added the liner (which is the highlight around the opening of the box) and then glued the frame which is the monogram and strip onto the "acetate"
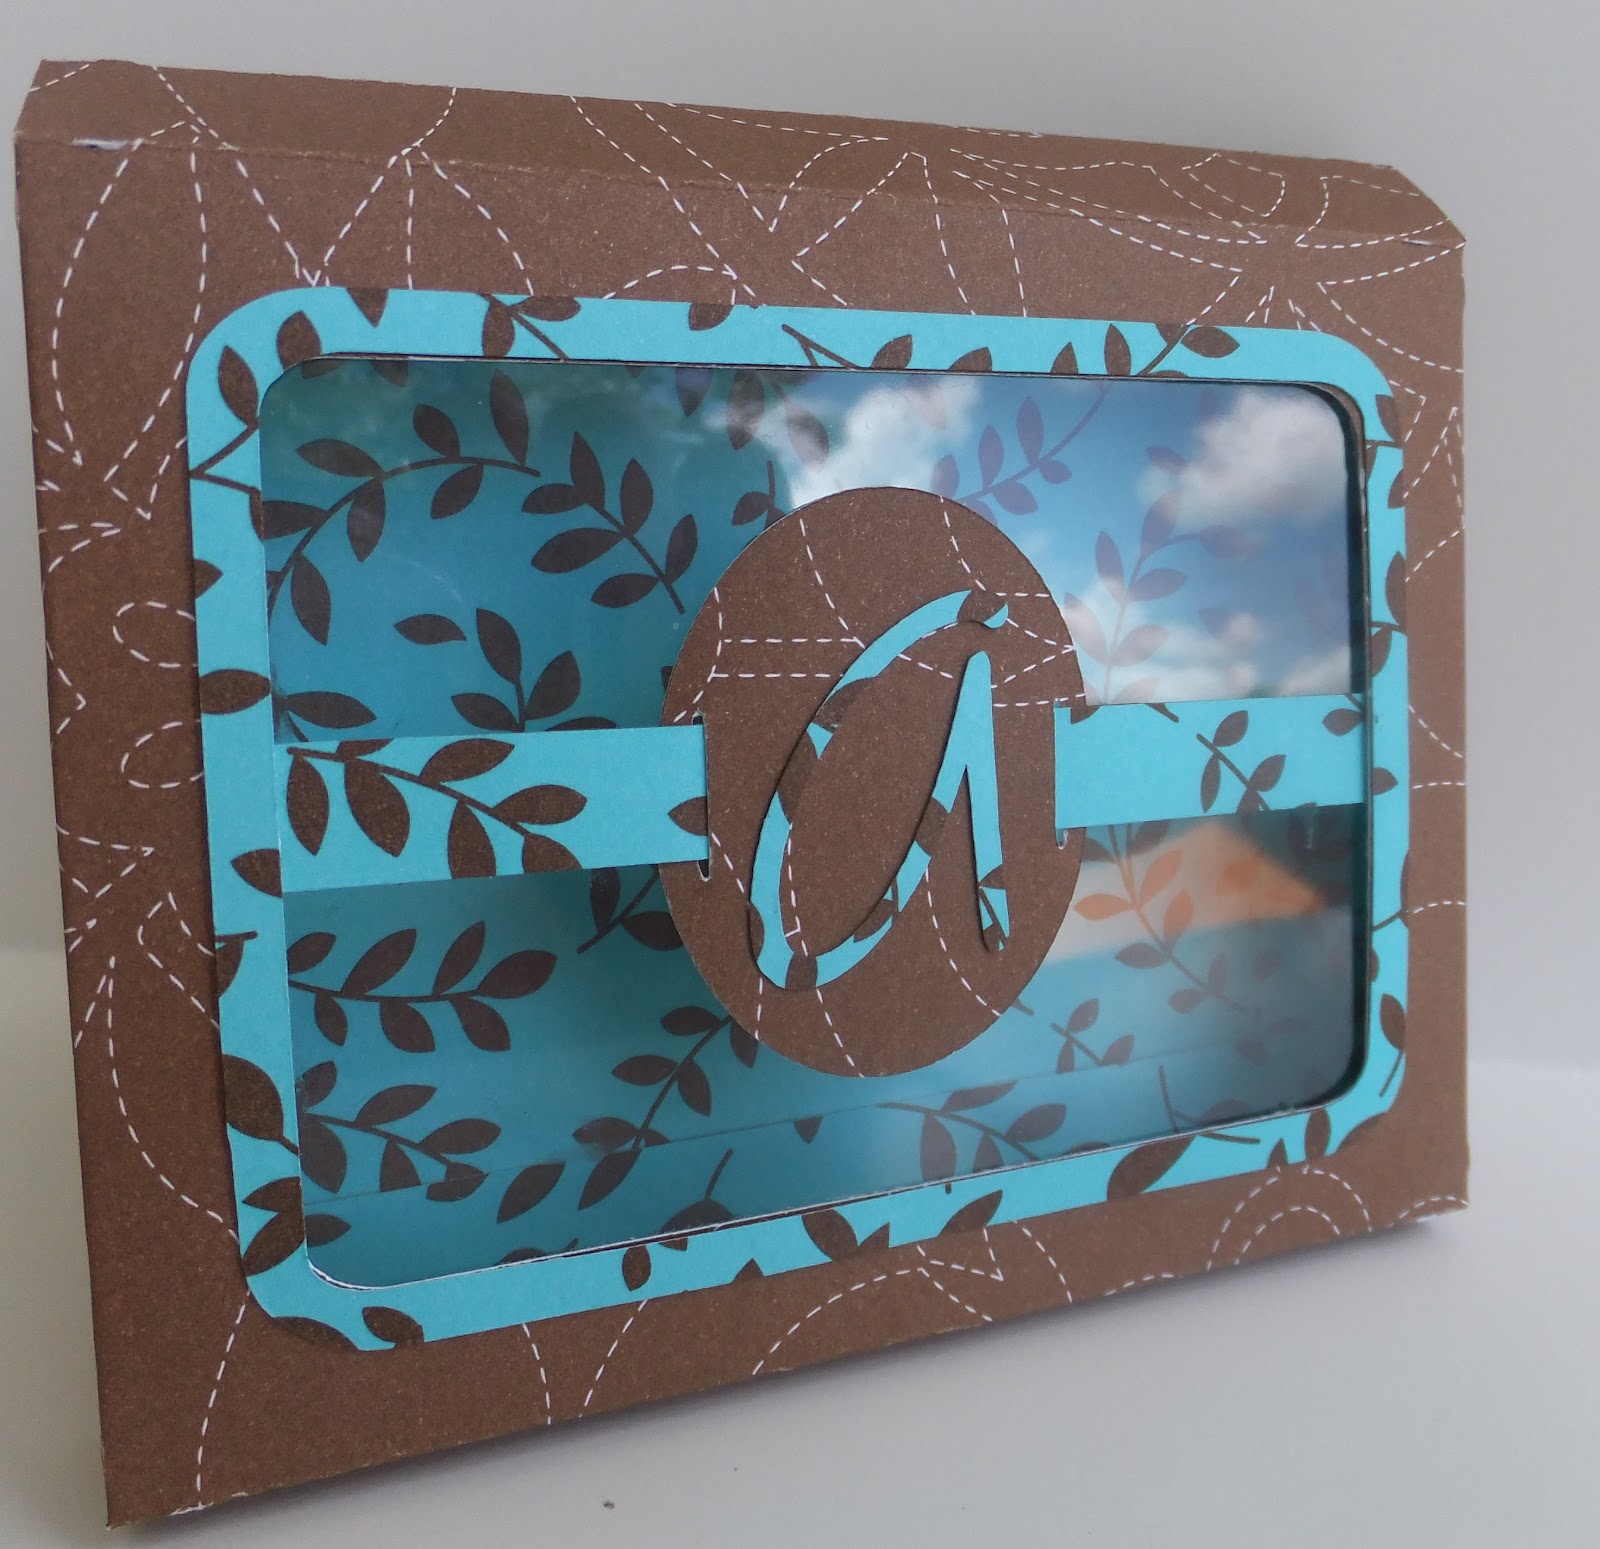
I glued 2 sides of the gift box to leave open only one side. It has a pre-cut notch to open easily.
(Gift box cut at 11.20 x 5.69) I plan on filling it with monogramed thank you cards
Now for my FAVORITE!! Yup...you guessed it, the owl card!!! AHHHHH...he is SOOO cute!
For this card and envelope I used the card, envelope, icon, and liner feature.
I LOVE this paper set. It is old and from MS (same as the giftbox) but it is SO versatile!)

LOVE this envelope...seriously...this is too pretty!!
The tree trunk, tree top, and grass is the icon feature. I used two sided paper and just flipped the tree trunk on my gypsy so it would cut accordingly.

Here is the liner of the envelope

The owl card was also cut using two sided paper. I inked the owl eye-liner (hehe) and adhered it with foam dots for dimension.

I "ruffled" the feathers of the owl for pop and inked the edges of them and the rest of the card using Ranger Distress Ink Tea Dye.

Owl card cut at 8.30 x 4.41
This has been SUCH a fun cart to work with. If you have it and haven't tried it...then what are you waiting for??!! You can use the frames, icons, alphabets and all the other great features they have for any project you might make from scrapbook pages, gift boxes, cards, and even home decor. Be on the look out for more projects featuring this cart!
Hugs and Happy Crafting!
Thank you Michelle for all the great ideas and the amazing projects. Remember, you can visit Michelle at her blog HERE. When you do, please leave her some love. Thank for joining us for another showcase. We hope you will come back and visit often.


0 comments:
Post a Comment